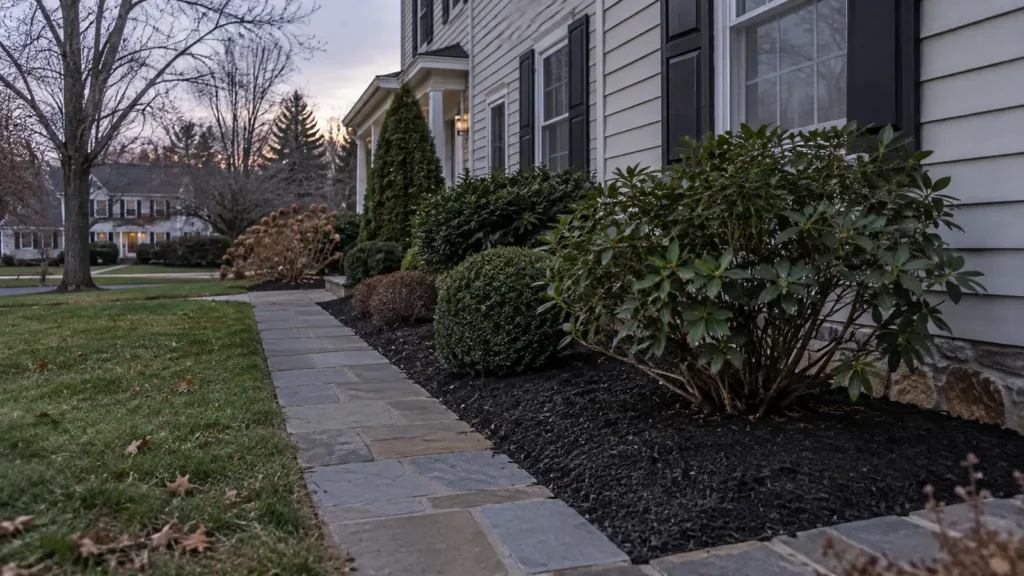
Holiday lights look sharp when the landscape underneath looks finished. Tangled beds, bare soil, and ragged edges pull the eye away from even a careful light layout. A short prep pass on beds and edges—before cords and clips go up—makes the display read as intentional instead of improvised.
Worthy Landscaping installs holiday lighting and also handles the bed work that frames it. You can stage prep yourself or fold it into a visit; either way, sequence helps. In southeastern Pennsylvania, the window between late leaf drop and early December often compresses fast. Planning bed work a week or two ahead of lighting keeps both jobs from colliding on the same cold afternoon.
Why bed prep changes how lights read at night
At night, contrast matters. Dark mulch and clean shrub forms give lights a backdrop. Pale bare soil, leaf piles, and uneven edges create visual noise. Guests and passersby notice the glow first, then the mess underneath if it is there.
Street-facing foundation beds take the most scrutiny. Those are the beds people see from the curb when the roofline is lit. Side yards matter less for curb appeal but still matter for cord routes and safe footing. Prep is not about perfection everywhere. It is about removing distractions where the display will live: stray leaves in foundation beds, overgrown tips that will poke into light strings, and mulch gaps that look unfinished under porch lights.
Clean before you mulch or light
Start with removal.
- Pull leftover fall leaves from shrub bases and from behind foundation plantings.
- Cut or remove dead annual stems still standing in front beds.
- Clear sticks and debris from the strip between walk and foundation where cords often run.
- Sweep hard surfaces so clips and stakes sit on stable ground.
- Check window wells and stair corners where leaves pack and stay wet.
Only after beds are clean does fresh mulch help. Mulch on top of leaf mats hides the problem for a week, then the mess returns as leaves work up through. A thin, even mulch layer after cleaning frames both daytime curb appeal and nighttime lighting. Keep mulch pulled slightly back from siding and not volcanoed against trunks—better for plants and better for placing low fixtures.
If you already mulched in fall and the surface still looks even, you may only need a light top-dress in thin spots. If winter wind bare-patched the front beds, refresh those first. Spot-fixing usually beats a full remulch when time is short.
Edges that hold the line
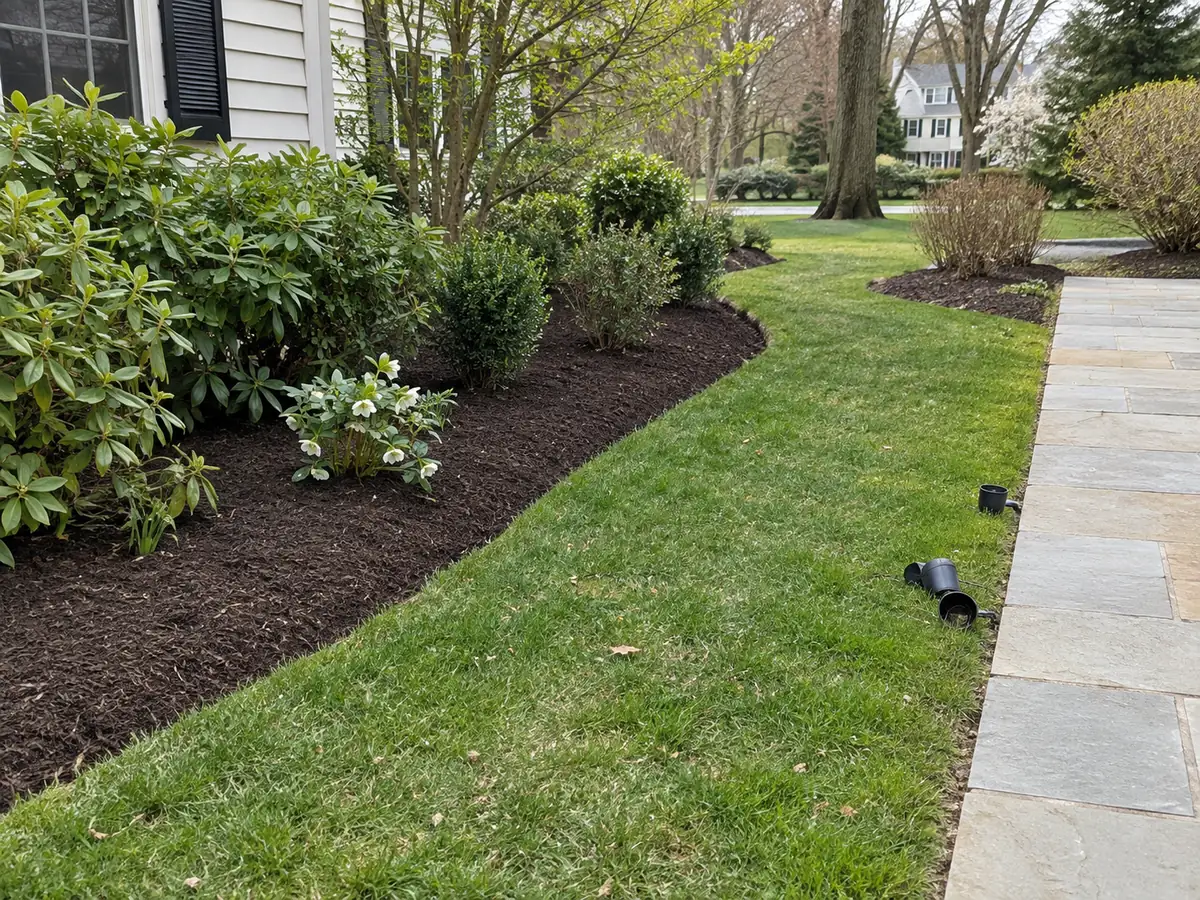
Redefine bed edges where turf has crawled in. A crisp edge along the front walk and driveway beds makes the house look cared for even before a single bulb is tested. It also gives installers a clear zone for low stakes and ground-level lighting without fighting long grass.
Use a clean trench edge or a maintained hard edge if you already have one. The goal is a line that reads from the street at dusk, not a deep excavation project. If the lawn is still dropping leaves into the bed every windy day, edge after a leaf pass so you are not cutting through a moving carpet of debris.
When you plan path or shrub lighting, keep a small clear margin at the soil line so fixtures are not buried. Label or photograph where you want path lights before mulch goes down if the layout matters to you—fresh mulch can erase footprints you meant as markers.
Light pruning for access and shape
You do not need a full pruning season before lights. You do need room to work and shapes that will not swallow strings.
Focus on:
- Soft tips blocking window frames or door hardware where lights will mount
- Shoots that grew into the walk since summer
- Foundation shrubs that have lost a clean outline facing the street
- One or two “hero” shrubs or small trees that will carry wraps or net lights
For more involved shaping, bush and shrub trimming can be scheduled ahead of lighting so growth has a moment to settle and you are not pruning and hanging on the same rushed afternoon.
Avoid heavy cuts on spring-flowering shrubs if those buds matter to you next year. Holiday prep pruning should be light and practical. If a plant needs major reduction, that is a separate conversation with its own timing—not a December improvisation.
Staging the site for install day
A little staging saves time when lights go up.
- Decide which beds and rooflines are in scope this year.
- Note outlets you intend to use and whether GFCI protection is in place.
- Keep pets and cars clear of the primary work side of the house.
- Move fragile décor out of foundation beds before crews arrive.
- If mulch is part of the plan, finish it a few days before lighting so installers are not walking fresh piles into the lawn.
- Clear ladder footing along the main façade—toys, hoses, and planters included.
If you want both bed refresh and lighting, tell us that up front so visits can be ordered cleanly: cleanup and mulch first, then lights. Trying to mulch around already-installed stakes usually means someone is undoing work.
Quick prep checklist
- Leaves and debris out of display beds
- Edges redefined along public-facing beds
- Light trim for access and outline
- Mulch refreshed where soil shows
- Walk and porch clear of clutter
- Outlets and timer location identified
- Must-include lighting zones written down
- Soft or muddy spots noted for ladder safety
Schedule Bed Prep Before Lighting
If you want beds to look ready before holiday lighting goes up, contact Worthy Landscaping. Mention whether you need cleanup, mulch, light trimming, lighting, or a combined sequence. We serve Bridgeport and the surrounding Montco, Delco, Chester, and Main Line communities, and we will help you stage the work so the display sits on a finished landscape.